How To Contour For Beginners: The 5-Minute Stick Method That Actually Works
Meta Title: How to Contour for Beginners (Easy 5-Minute Stick Method)
Meta Description: Learn how to contour for beginners using a simple 5-minute stick method. Easy, natural-looking results with step-by-step tips and product picks.
URL Slug: /how-to-contour-for-beginners-stick-method
Primary Keyword:
• how to contour for beginners
Secondary Keywords:
• contour stick for beginners
• easy contour method
• how to contour face step by step
• cream contour tutorial
• natural contour makeup
• beginner makeup contour tips
If contouring has ever felt complicated, messy, or just not worth it… you’re not alone.
Between harsh lines, the wrong shades, and tutorials that take 20 minutes, it’s easy to give up before you even start.
But here’s the truth:
Contouring doesn’t have to be difficult.
With the right technique—and the right product—you can sculpt your face in under 5 minutes using a simple stick method that actually looks natural.
Why Stick Contour Is Perfect for Beginners
If you’re learning how to contour for beginners, choosing the right product is everything.
Contour sticks are ideal because they:
• Blend easily into the skin
• Give more control over placement
• Create a natural, skin-like finish
• Work perfectly for quick, everyday makeup
The 5-Minute Stick Contour Method
This easy contour method is designed for real life—not complicated tutorials.
You only need one product:
A creamy contour stick that blends effortlessly into your skin
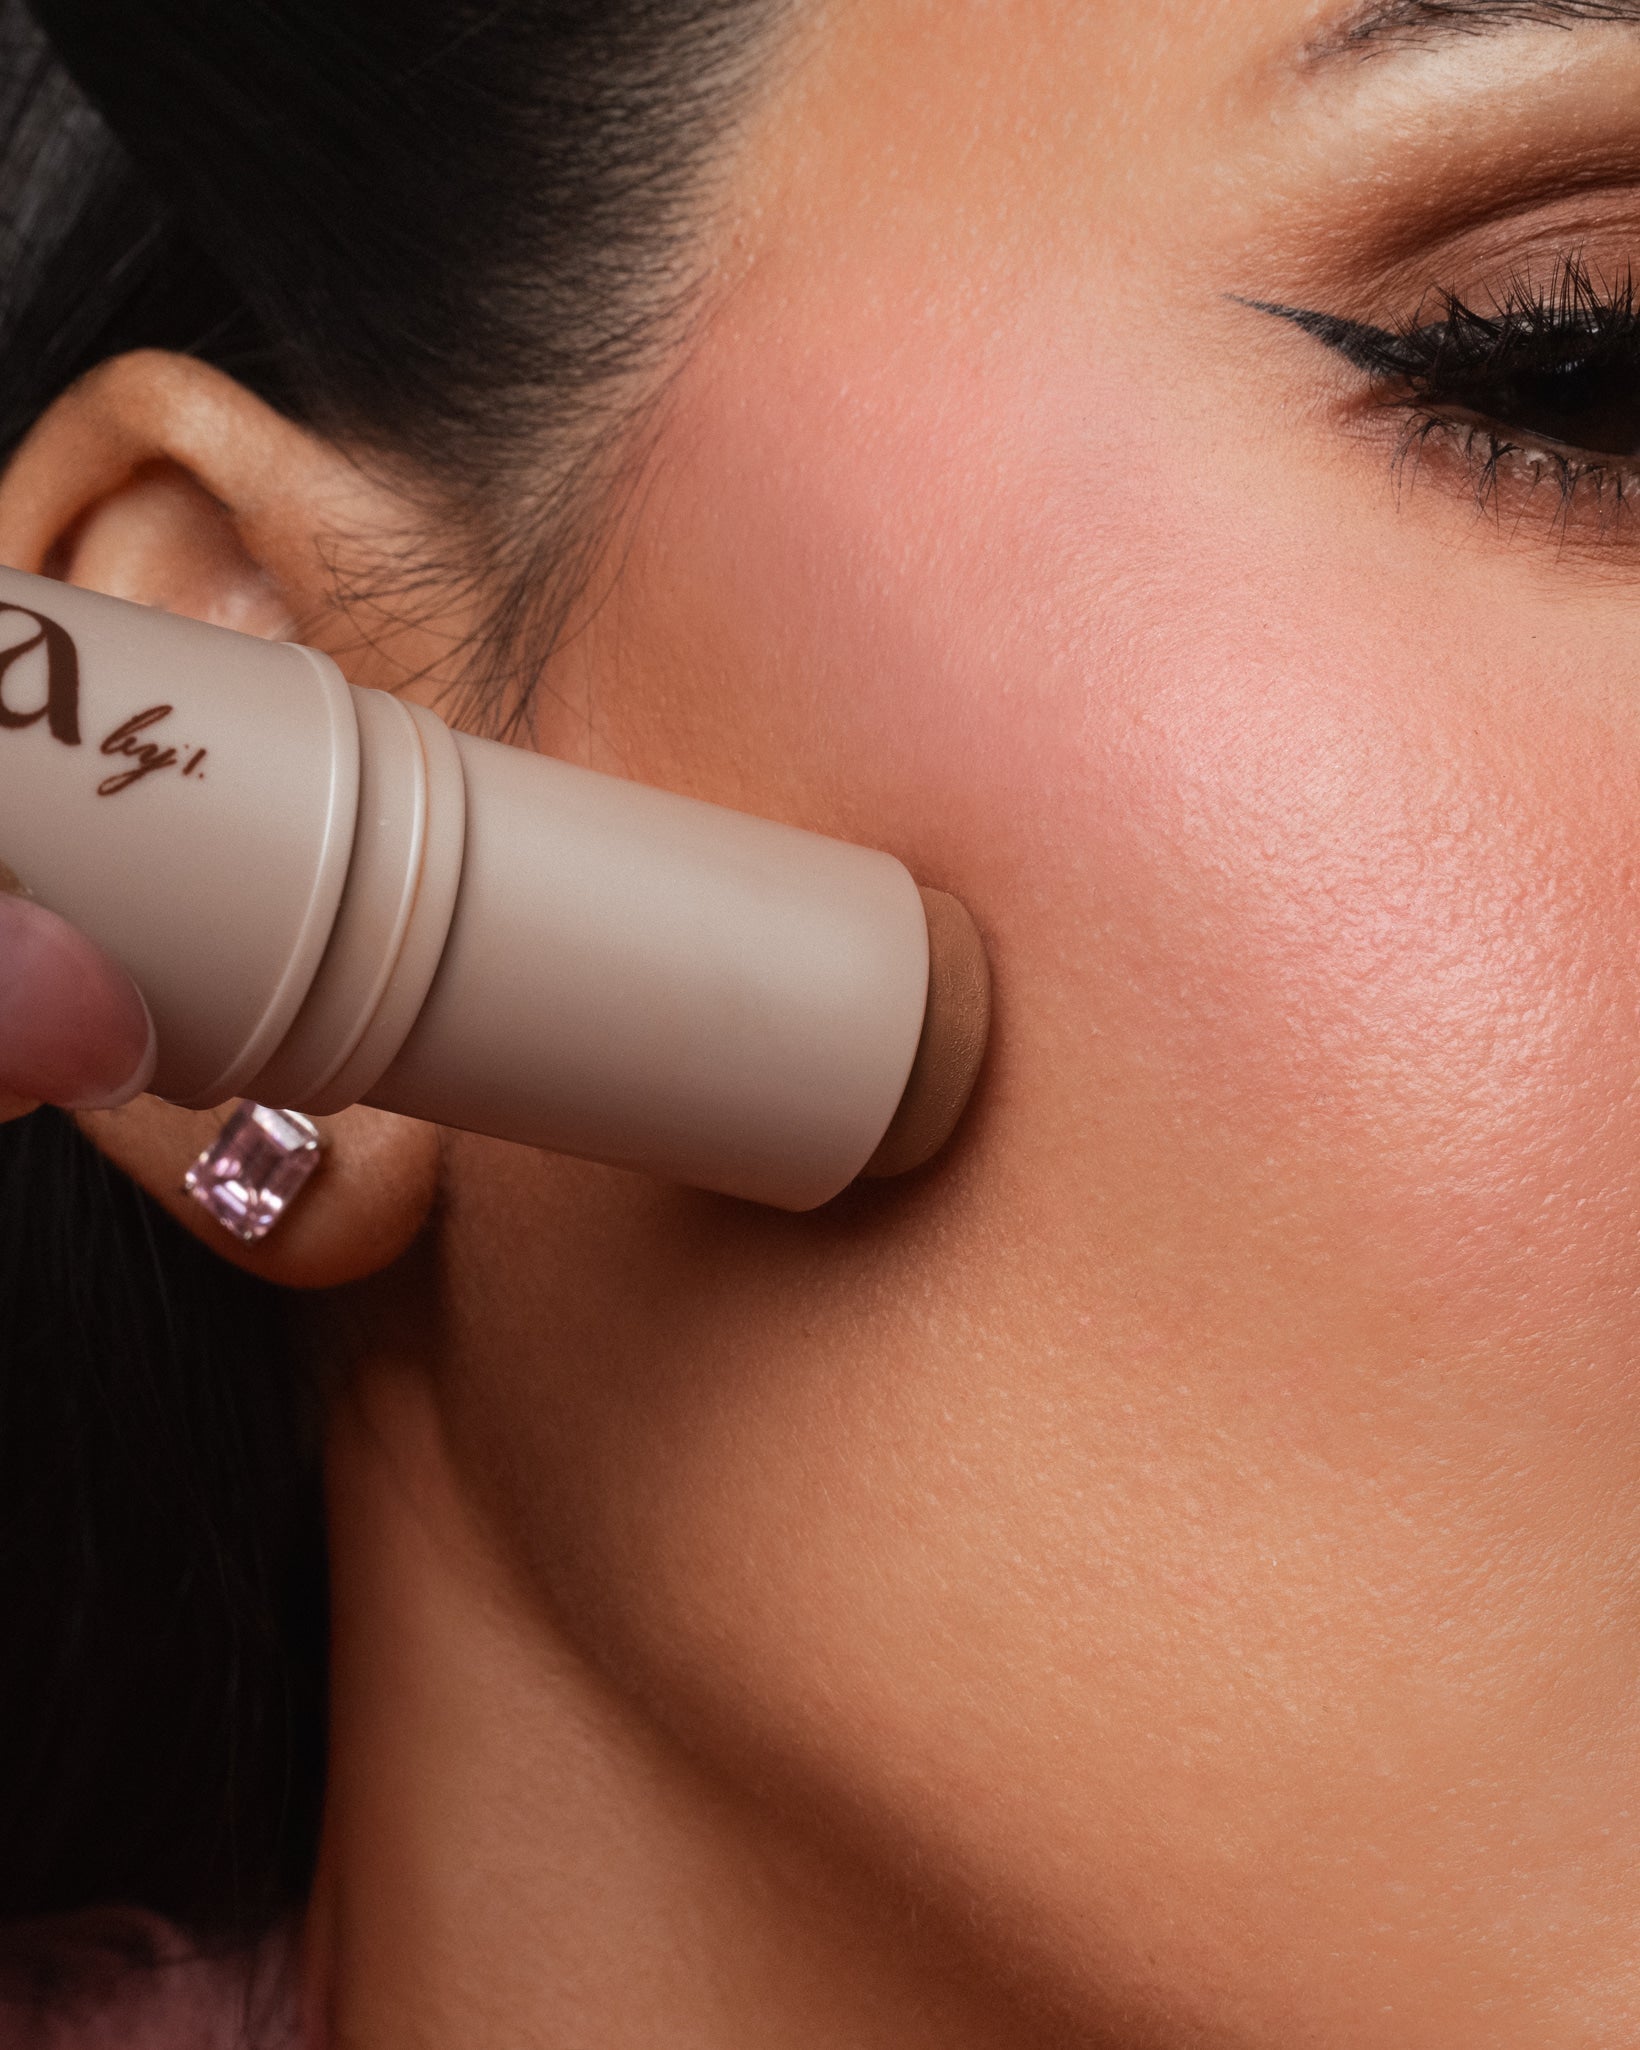
Step 1: Find Your Contour Zones
When learning how to contour your face step by step, focus on these key areas:
• Under your cheekbones
• Along your jawline
• Sides of your nose (optional)
• Top of your forehead
Step 2: Apply Lightly (Less Is More)
One of the most important beginner makeup contour tips:
• Use small strokes instead of thick lines
• Start with less product and build gradually
This helps achieve a more natural contour makeup look.
Step 3: Blend Immediately
Blending is what makes or breaks your contour.
Use:
• A dense brush, or
• A damp sponge
Blend using upward motions and soft tapping.
Step 4: Add a Touch of Blush
This step elevates your entire look.
Apply cream blush slightly above your contour to:
• Lift the face
• Blend everything together
• Create a fresh, natural finish
Step 5: Set (Optional)
Depending on your skin type:
• Oily skin → lightly set with powder
• Dry skin → keep it dewy for a natural finish
Common Contour Mistakes (And How to Avoid Them)
❌ Too much product
✔ Build gradually
❌ Wrong shade
✔ Choose a cool-toned contour
❌ Poor blending
✔ Blend until it looks like skin
❌ Low placement
✔ Keep contour slightly higher for a lifted effect
Why This Method Works
This cream contour tutorial works because it’s:
• Fast
• Beginner-friendly
• Natural-looking
• Easy to repeat daily
Final Tip
Contouring isn’t about changing your face.
It’s about enhancing your natural features in the simplest way possible.


